
- How to Prepare for Interior Corrugated Metal Wall Panel Installation?
- What Are the Steps to Install Interior Corrugated Metal Wall Panels?
- How to Complete the Corrugated Metal Wall Panels Interior Installation?
- What Are Common Issues in Interior Corrugated Metal Wall Panel Installation?
- FAQ
- Conclusion
Installing corrugated metal wall panels isn't rocket science, but it does require some planning and the right approach. You'll need to prep your walls, measure carefully, set up a framework, secure the panels with proper fasteners, and seal everything up. Whether you're going for that industrial look in your home office or adding character to a basement, getting the installation right means your interior corrugated metal wall panels will look great and last for years.
How to Prepare for Interior Corrugated Metal Wall Panel Installation?
Getting ready is half the battle when it comes to interior corrugated metal wall panel installation.
Required Tools and Materials
Here's what you'll actually need on hand:
| Tools | Materials |
| Circular saw or tin snips | Corrugated metal panels |
| Power drill with bits | Furring strips (1x3 or 1x4 lumber) |
| Level (a 4-foot one works best) | Screws with rubber washers |
| Tape measure | Construction adhesive |
| Chalk line | Trim pieces |
| Safety glasses and gloves | Silicone caulk |
Wall Surface Assessment and Preparation
Look at your walls closely. Are they straight? Any major bumps or dips? Run your hand along the surface – you'd be surprised what you'll find.
- For drywall, check for any soft spots or damage. Patch these before you start.
- If you're working with concrete or brick, make sure there's no moisture coming through.
- A simple test: tape a piece of plastic to the wall for at least 16 hours (or longer). If there's condensation underneath, you've got a moisture problem that needs fixing first.
Measurement and Layout Planning
Measure twice, cut once – this old saying exists for a reason. Start by measuring your wall height and width. Corrugated panels often come in 8, 10, or 12-foot lengths, so plan your layout to minimize waste.
Here's a real example: For a wall that's 12 feet wide and 8 feet tall, you might run panels vertically. If your panels are 26 inches overall (a common formed width for 2-1/2" corrugated) (about 24 inches of wall coverage for that profile), you'd need about six panels to cover the width. Mark your furring strip locations every 16 to 24 inches – this gives your panels solid backing.
Once you've got your prep work done, you're ready to actually install those panels.
What Are the Steps to Install Interior Corrugated Metal Wall Panels?
Now we get to the actual installation. Take your time here – rushing leads to crooked panels and wasted materials.
Step 1: Horizontal Furring Strip Framework (for Vertical Panels)
- Furring strips create the framework that holds everything together. If you’re running panels vertically, install your furring strips horizontally so the panels can fasten securely across their width.
- Using your level, mark level horizontal layout lines every 16 to 24 inches (or match your system requirements), then attach 1x3 furring strips along these lines using appropriate-length fasteners for your wall type (and make sure you’re fastening into studs or the correct anchors).
- Keep each strip level and in the same plane; if your wall has slight waves, use shims behind the strips to keep everything straight.
This step takes patience, but it's crucial – wonky furring strips mean wonky panels.
Step 2: Mark and Clamp for Straight Cuts
Cutting metal panels scares some people, but it's straightforward with the right tools. For straight cuts, a circular saw with a metal-cutting blade works great. Mark your cut line with a marker, clamp the panel down, and cut slowly.
Important: Fresh-cut metal edges can be razor sharp—treat every cut edge like a blade. After cutting, immediately deburr the edge (use a file or deburring tool) before handling the panel further.
Pro tip: Cut panels outside if possible – the metal shavings get everywhere.
Step 3: Cut Outlet and Switch Openings
For outlets or switches, measure carefully from your last installed panel. Mark the cutout on your new panel, then drill a starter hole and use tin snips to cut out the shape. File any sharp edges smooth.
Remember: Turn off power to outlets before installing panels around them – safety first.
Step 4: Start at One Corner
Start at one corner and work your way across. Place your first panel and check that it's level – this sets the tone for everything else.
Step 5: Use Sealing Washer Screws
Use corrosion-resistant screws with sealing (neoprene/rubber) washers, then drive them in the locations recommended by your panel manufacturer (raised corrugations or valleys, depending on the specific panel profile and install spec). Follow your panel manufacturer’s recommended fastening pattern and frequency (and any local code requirements) along each furring strip instead of guessing—this keeps the look consistent and the attachment tight.
If you’re using an architectural panel system (for example, Ansus Metal’s corrugated cladding/panel profiles), pull up the product spec/installation guidance first and follow that fastening layout instead of guessing.
Step 6: Overlap Each Panel by One Corrugation
Overlap panels by one corrugation (or the overlap shown in your panel’s installation guidance) (common examples include 1-1/4" and 2-1/2" corrugated profiles, but always follow your product spec). If you're working left to right, the right edge of your first panel goes under the left edge of your second panel. This creates a seamless look and prevents gaps.
Step 7: Trim Corners and Edges
Corners need special attention. For inside corners, cut panels to fit flush against each other, then cover the seam with corner trim. Outside corners work the same way – panels meet at the corner, then you cap it with trim.
Step 8: Finish Top/Bottom and Around Openings
Don't forget the top and bottom edges. Install a bottom edge trim or starter piece that matches your system to create a clean edge, and finish the top with the trim profile specified for your panels (often a cap/J/U-style channel, depending on the system).
Step 9: Cut Panels Around Windows and Doors
For windows and doors, cut panels to fit around the opening, leaving a small gap that matches your trim system. Then move on and install the trim around these openings in the “Installing Trim and Edge Molding” section below so you only do the trim work once.
How to Complete the Corrugated Metal Wall Panels Interior Installation?
Finishing touches turn a decent job into a professional one.
Sealing Joints and Gaps
1. Run a bead of clear silicone caulk along any gaps where panels meet walls, ceilings, or floors.
2. Keep a damp rag handy to smooth the caulk and wipe away excess. This prevents dust from settling in cracks and gives everything a clean appearance.
3. Check all your screw heads, too. Any that seem loose? Tighten them now.
Installing Trim and Edge Molding
1. Trim covers the rough edges and gives your corrugated metal wall panels a polished interior look.
2. Use metal trim that matches your panels, or go with wood trim for contrast.
3. Cut trim pieces to length using a miter saw for clean 45-degree corners. Attach with construction adhesive or small finishing nails (for wood trim).
For a basement rec room, dark wood trim against galvanized panels can look fantastic.
Applying Surface Protection
1. Most corrugated metal panels come pre-finished, but if you're using raw steel, consider applying a clear coat to prevent rust. Even in interior applications, humidity can cause problems over time.
2. For high-traffic areas, a coat of paste wax adds protection and makes cleaning easier. Just wipe it on, let it dry, then buff it off.
Your installation is complete, but knowing how to handle problems will save you headaches down the road.
What Are Common Issues in Interior Corrugated Metal Wall Panel Installation?
Even experienced installers run into problems. Here's how to handle the most common ones.
Avoiding Installation Mistakes
The biggest mistake? Not checking for level and flatness/in-plane alignment constantly. Every few panels, step back and check your work. One crooked panel throws off everything that follows.
Another common error is over-tightening screws. The rubber washer should compress slightly, but if you drive the screw too deeply, you'll dimple the metal. This looks bad and can compromise the panel's strength.
Troubleshooting Alignment Problems
- If panels won't line up right, stop and figure out why. Usually, it's because your furring strips aren't level and in the same plane, or your first panel wasn't level/flat. Sometimes you need to backtrack and fix earlier work – frustrating but necessary.
- Use a straight edge to check your furring strips. If one bows out, add shims behind it until it's straight.
Dealing with Uneven Walls
- Old houses rarely have perfectly flat walls. When you encounter waves or bumps, adjust your furring strips to compensate.
- Shim out low spots so your strips create a flat plane for panels to attach to.
- For really bad walls, consider installing horizontal furring strips first to create a flat base, then add vertical strips over those.
With these solutions in your back pocket, you can handle whatever surprises your walls throw at you.
FAQ
Q1. Will Corrugated Metal Wall Panels Affect Cell Phone Signal or WiFi?
The actual impact is usually minimal. A single accent wall of corrugated metal panels won't noticeably interfere with modern wireless signals. However, covering an entire room (all four walls plus ceiling) might reduce signal strength. The common workaround: stick to one or two accent walls. If you're concerned, test your signal before and after installation. Proper router placement often solves any minor issues.
Q2. Do Interior Corrugated Metal Wall Panels Need Grounding or Special Electrical Considerations?
Generally, no. Decorative metal panels that don't touch electrical components don't require special grounding. Key safety points: turn off power when working near outlets, maintain proper clearance around electrical boxes, and prevent direct contact with live components. For commercial buildings or strict code areas, consult a local electrician. Most DIY home projects just need basic electrical safety practices.
Q3. Can I Hang Pictures or Shelves on Corrugated Metal Wall Panels After Installation?
Yes, but method matters. The furring strips behind panels provide solid anchoring points. Find their locations using installation photos or marks. Use screws that penetrate the metal and bite into the furring strip with enough depth for the load (choose length based on your panel, furring thickness, and what you’re hanging). For heavy items like TVs, always anchor into furring strips, not just the panel. Magnetic hooks work great for lightweight decorations—a bonus feature of metal walls. Skip adhesive hooks; they don't stick well to metal.
Conclusion
Installing interior corrugated metal wall panels isn't complicated, but it rewards careful planning and patient execution. Start with solid prep work, take your time with the framework, and don't rush the finishing touches.
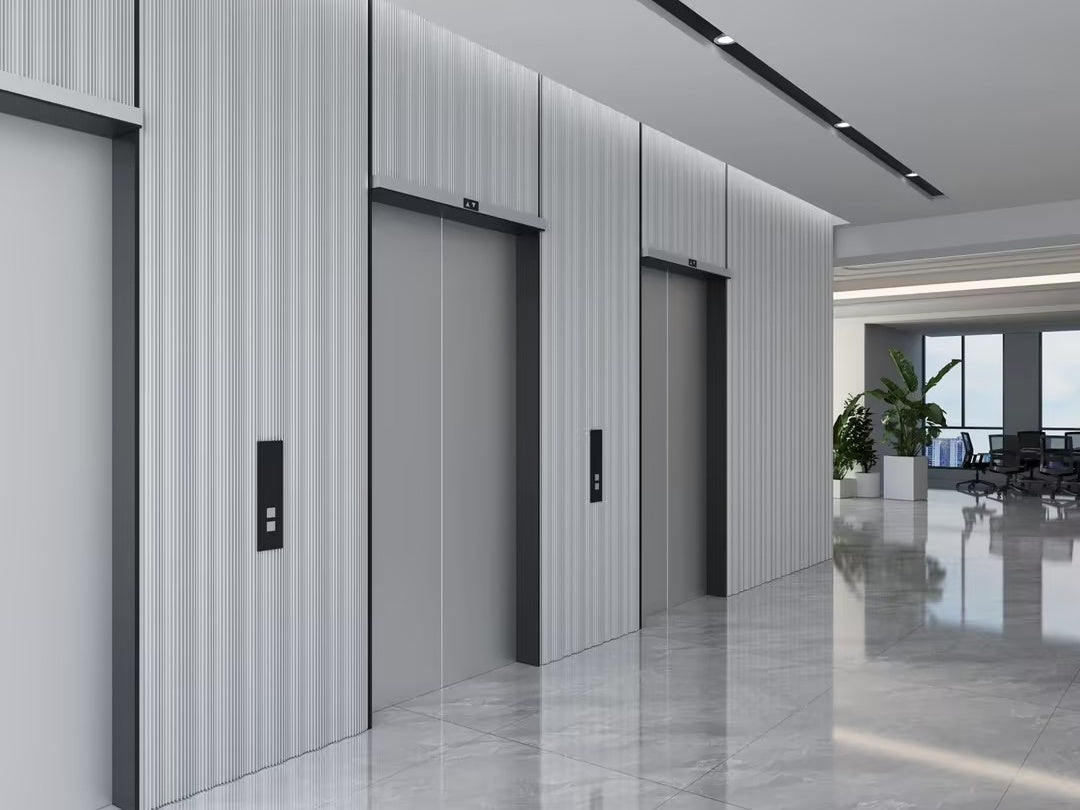
If you want a cleaner “architectural finish” and project-fit sizing for an interior feature wall, take a look at our interior wall panel systems and corrugated options, then request a quote based on your wall dimensions and desired profile.
Share:
Cabinet Door Metal Mesh: Complete Guide
Does Architectural Wire Mesh Rust?